How to Run Strapi 4 in a Docker Container Using Docker Compose
The Latest Version in a Container

Strapi 4 is released and it's awesome, but the Docker image is not yet released, and it's not known when they will release it for us, but this won't stop us from running Strapi in Docker and that's what we will be covering in this post.
Table of contents
- Requirements
- Create the Strapi Project
- Add Docker Support
- Docker Support Caveat
- Run and Verify Project
- Content Types Development
- Conclusion
Requirements
Create the Strapi Project
We need to create a Strapi project named app (I will explain why this name at a later point) using npx:
npx create-strapi-app@latest app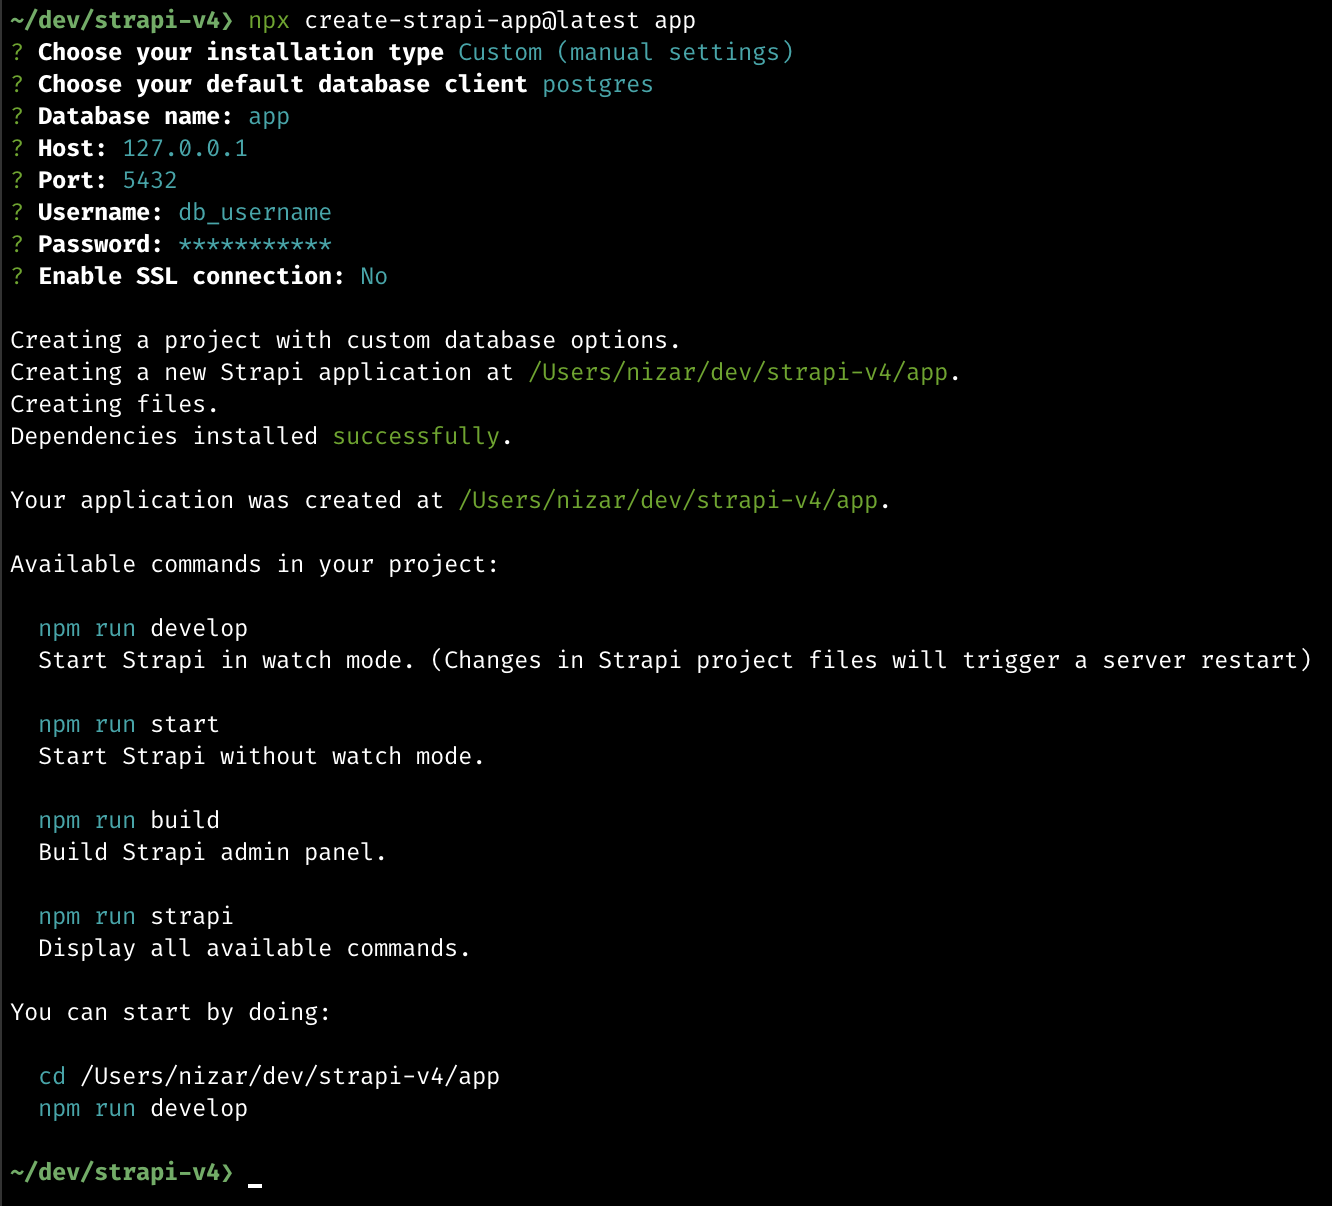
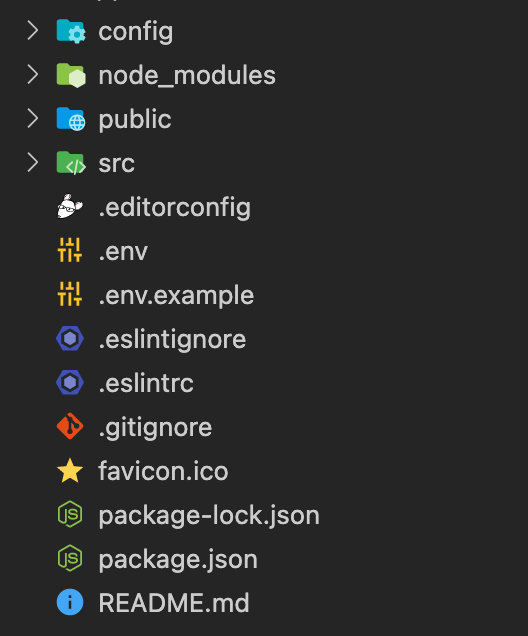
The command will generate a project with the following file architecture:
Add Docker Support
Now we will add Docker support using a Dockerfile.
In this step, the Dockerfile file needs to be created in the root of the Strapi project, after creating the file copy the following content into it:
FROM strapi/base

# Let WatchTower know to ignore this container for checking
LABEL com.centurylinklabs.watchtower.enable="false"

WORKDIR /app

COPY ./package*.json ./

RUN npm ci

COPY . .

ENV NODE_ENV production

RUN npm run build

EXPOSE 1337

CMD ["npm", "start"]
The Dockerfile will install Strapi's dependencies and build the project in production mode while exposing the port 1337.
To further optimize the Docker image that will be produced by this Dockerfile we skip copying some files and directories that won't be used inside the container.
Ignoring files and directories can be achieved by using a special file called .dockerignore (similar in nature to .gitignore).
Create the Docker ignore file in the root directory of the project, and copy the following content to it:
node_modules
license.txt
exports
*.cache
build
.strapi-updater.jsonSo far so good, we added Docker support to our project, but we are not done yet.
Docker Support Caveat
There is a caveat when building Strapi in a Docker container, Strapi uses webpack to build the admin view (which happens when running npm run build).
To make this Dockerfile effective, we need to supply this build dependency via our package.json file, to do this install webpack as a development dependency:
npm i -D webpackWith that done, now, we need to create a docker-compose.yml file, which needs to be outside of the root directory of the Strapi project.
So we need to wrap the project and the docker-compose.yml in a directory (that's why I called the project app above), let's do this:
# Step out of the Strapi project named 'app'
cd ..

# Create a new directory
mkdir strapi-v4

# Move the Strapi project into the newly created directory
mv app strapi-v4
Now after wrapping the project in a directory, step into the directory and create the docker-compose.yml file:
# Step into the wrapper directory
cd strapi-v4

# Create an empty file
touch docker-compose.yml
Now, paste the following content into the file:
version: "3"

services:
  app:
    build:
      context: ./app
    container_name: strapi_v4_app
    restart: unless-stopped
    environment:
      NODE_ENV: production
      DATABASE_CLIENT: postgres
      DATABASE_HOST: db
      DATABASE_PORT: 5432
      DATABASE_NAME: app
      DATABASE_USERNAME: db_username
      DATABASE_PASSWORD: db_password
    volumes:
      - ./app:/srv/app
    ports:
      - 127.0.0.1:8000:1337
    depends_on:
      - db

  db:
    image: postgres:13
    container_name: strapi_v4_db
    restart: unless-stopped
    environment:
      POSTGRES_DB: app
      POSTGRES_USER: db_username
      POSTGRES_PASSWORD: db_password
    volumes:
- ./data:/var/lib/postgresql/dataLet me explain the file for you, the Docker Compose file contains two services; the Strapi project we just created named app (it can be named anything) and a database service that the project will connect to.
Run and Verify Project
Now, we can create our Docker containers and enjoy our CMS, let's do it:
Build and run:
docker-compose up -d --buildVerify that both services are running:
docker ps -aThe expected output would be something similar to this:

After it finishes you can go to your browser and get into: http://localhost:8000/admin to create an admin profile, and basically, this is it.
But since this build is a production build, you can't create types, you will need to create them in the development environment, and that is what's next.
Content Types Development
In this section, we will see how to create our content types and update the previously built production environment.
Let's start with how it works, first whatever content type you create from the UI translates into code inside of the Strapi project and that's something that can't be done in the production environment.
Now that's cleared out, let's launch the development environment and create a content type then update the production build.
First, we need to launch our local database for development, but before that let's create an extension file for the database to expose the database port:
Right next to the original docker-compose.yml create a new file:
touch docker-compose.dev.ymlAnd paste the following content into it:
version: "3"

services:
  db:
    ports:
- 5432:5432Now launch the database only specifying both files:
# In the strapi-v4 directory
docker-compose -f docker-compose.yml -f docker-compose.dev.yml up -d db
Verify that's the database is created and that it exposes the port we specified:
docker ps -aSecond, we need to launch the Strapi project from within the project's root directory using npm:
# Get into the Strapi project directory
cd app

# Start development server
npm run develop
Like this, the project will connect to the database using the credentials supplied in the database.js file.
Now using your browser head into the admin panel at http://localhost:1337/admin and start creating your content types.
As soon as you create a content type, you will notice that the code in the project's directory changed (some files are created).
We are almost done, we need to update the production environment (which is not the one in your local machine), to do this just launch our previous command:
docker-compose up -d --buildThis will re-build the project using the production environment and you can start using the CMS.
Conclusion
Like this, we can say that we built our custom Strapi 4 docker image and containers with ease.
Source code can be found here.
As always, I hope you learned something.
Found this useful? feel free to share it with your friends.
Join the newsletter from here to notify you of new posts and updates.
Like the post? consider buying us a coffee ❤️.